
 Next, we are going to use a simple technique to work in a handful of different column variations inside this one page for our portfolio items.
Step E2: Creating Portfolio Items
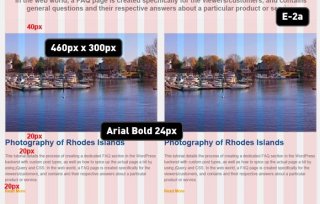
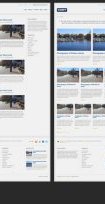
Use the image creation technique from Day One (Step C3) to create two column portfolio items as shown in image E - 2a. If you recall, we're simply drawing in rectangles that fit the column guides, applying a layer style, and then cropping in images to create a subtle border effect.
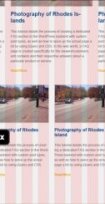
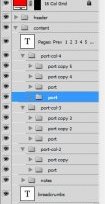
Now repeat this same technique for three column and four column portfolio items.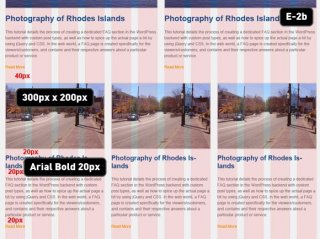 Use image E - 2b and E - 2c as a guideline. Note that we're flipping between the different 12_column and 16_column guide layers to get this perfect. Finally, organize your layers as shown in image E - 2d.
Part F: Design The Blog List Page
The Blog List page is intended to be the location where "excerpts" of each blog post are shown. These "excerpts" are also called "loop" elements - and usually are comprised of a title, thumbnail image, a short text preview and some meta information (like the date, author, tags, etc.).
Step F1: Creating the Blop "Loop" Elements
Just like we did with the last page, we'll start by creating a duplicate of portfolio.psd page and renaming it to blogs.psd. Inside the blogs.psd file, delete everything inside the content folder except bg, breadcrumbs, and
YOU MIGHT ALSO LIKE

Share this Post
latest post
-
-
 Web Page Designer Definition September 29, 2018
 -
-
 What is the best Web design software? September 23, 2018
 -
 Best Web design colors September 20, 2018
 -
 Online Responsive Web design September 17, 2018
 -
 Web Page design Perth September 14, 2018
 -
 Best PC for Web design September 11, 2018
 -
 Best Practices for Web design September 8, 2018