
 For many web designers, Photoshop CC still plays an integral part in the website creation process. Whether you're creating website mockups or designing individual site elements, you may not realise that Photoshop is an effective alternative to your wireframe tools and more.
Whehter you have an older Creative Suite version of Photoshop or are fully signed up to the Creative Cloud, here are some web design tips that you maybe didn't know that Adobe's venerable photo editor was capable of – and may prove very useful for your next project.
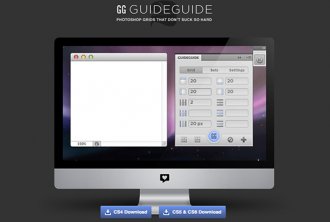
01. Use grid systems
There are a number of tools to help you use grids in Photoshop02. Get it all out
One of the best practices for successful web design (and time management) is to place all your elements on your Photoshop canvas before you start getting dirty with design.
Web designers often jump right into one particular area without considering the rest of page and the weight of content. Getting the rough framework into place quickly will ensure smarter decisions early on and avoid larger edits later.
03. Custom document presets
Photoahop comes loaded with a number of web focussed presets. Check them out!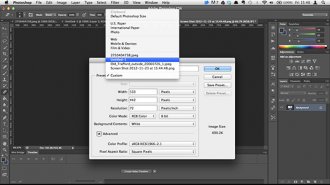 Hit Ctrl/Cmd+N to open the New Document window. The Presets menu contains basic web and mobile presets but is missing many common dimensions for a variety of grid systems, banners, iOS and Android devices. Take a few moments to fill the missing areas.
04. Customise default type
Close all open documents. Open the Character palette to select your preferred font family, weight, spacing, and colour. No more default Myriad!
05. Crisp vectors
Keep your vector objects crisp. With the Rectangle tool (U) selected, open the Geometry options menu in the options bar. Check the Snap to Pixels option.
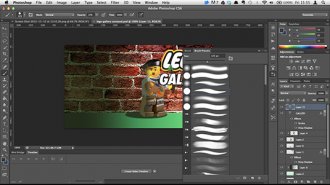
06. Easy dotted lines
Creat dotted lines in Photoshop. It's one of those things you'll always have to do.Select the Brush tool (), then open the Brush Presets palette, followed by the drop-down menu in the upper-right corner. Select Square Brushes and hit Append.
Now select the Hard Square 1 Pixel brush. Switch to the Brushes palette and hit Brush Tip Shape, adjusting Spacing to 300%. On your canvas, hold Shift while dragging the brush horizontally or vertically to create a crisp dotted line.
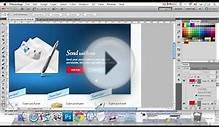
 07. Easy text wrap
With a quick workaround, Photoshop can apply Text Wrap functions similar to InDesign's. Select the Rectangle tool (U). In the Options bar set the fill to Paths, set the shape to Rectangle tool and select 'Add to path area' (or press +).
On your canvas, draw a large rectangle over the content area. Back in the Options bar, change the 'Add to path area' to 'Subtract from path area' (or press -). On your canvas with the outline of the original rectangle showing, draw an intersecting rectangle where the text will wrap.
Select the Type tool (T), and click inside the large rectangle to convert the shape to a Type Work Path to fill with type. You can further refine the Type Work Path dimensions with the Rectangle tool (U) and the Direct Selection tool (A).
08. Quick colour fills
Certain key commands come in useful over and over again. Quick fill is one of themHit Alt/Opt+Delete to fill text, shapes and layers with the selected foreground colour. Press Ctrl/Cmd+Delete to fill an area with the selected background colour. Hit to revert to the default black and white, and press X to swap the foreground and background colours.
09. Stay organised
Use Ctrl/Cmd+G to group layers and keep you organised and focused. Grouping your content areas and components – such as navigation, featured content areas, supporting components and footers – separately will save you headaches throughout the design and development process of a project.
10. Get smart
Using Smart Objects (go to Filter>Convert for Smart Filters, and Ctrl/Right-click Layer>Convert to Smart Object) wisely can really increase workflow throughout the design process. Converting larger photographs and vector objects into Smart Objects retains original image quality after scaling, rotating, and skewing.
YOU MIGHT ALSO LIKE
Share this Post
latest post
-
-
 Web Page Designer Definition September 29, 2018
 -
-
 What is the best Web design software? September 23, 2018
 -
 Best Web design colors September 20, 2018
 -
 Online Responsive Web design September 17, 2018
 -
 Web Page design Perth September 14, 2018
 -
 Best PC for Web design September 11, 2018
 -
 Best Practices for Web design September 8, 2018